
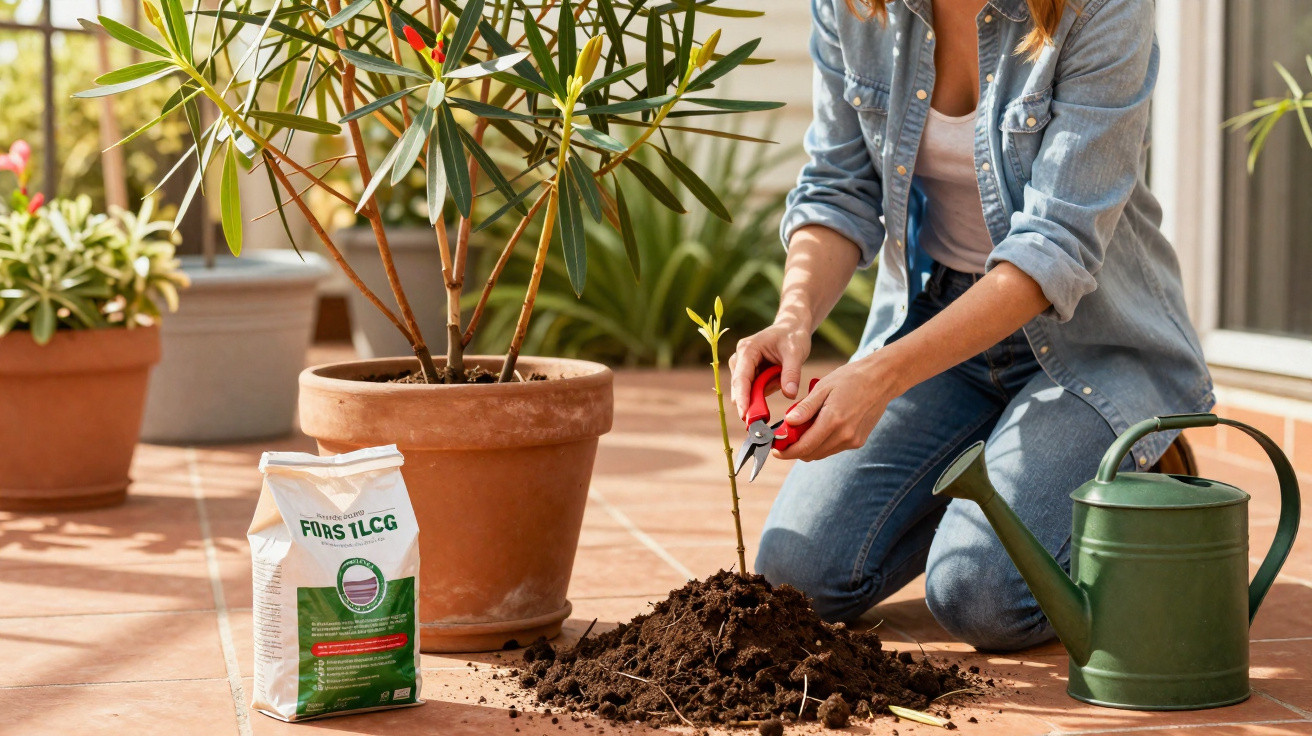
Many amateur gardeners get a shock in spring when they look at their oleander: brown leaves, dried-out twigs, barely any green left. It can seem as though the entire shrub has frozen to death. In reality, there is often far more life left in the plant than you would expect - provided you tackle things in the right order: check the plant, acclimatise it to the outdoors gradually, prune, repot, fertilise and water correctly.
How to check whether your oleander is actually still alive
Before you reach for secateurs or fertiliser, start with a proper assessment. From the outside, a badly frost-hit oleander can look like dead wood, even though the inner tissue may still be functioning.
The quickest test is simple: lightly scrape the bark of a suspicious shoot with your fingernail or the tip of a knife.
- If the tissue underneath is green and slightly moist, the shoot is alive.
- If it stays brown/grey and dry, that branch has died.
Work methodically from the tip of the shoot down towards the base. Very often, only the exposed upper sections have been damaged by frost, while lower parts are still green and viable.
Also check the trunk and root area, as this is where oleander is best protected from cold. Small swollen buds or slightly reddish, pimple-like bumps near the base are good signs that the shrub is preparing to push new growth.
Check first, then prune: if you cut back too hard too early, you often remove the very parts the oleander needs to produce fresh new shoots.
Bringing it out of its winter quarters the right way
Oleander originates from warmer climates and only tolerates frost to a limited extent. This is exactly where many springtime mistakes happen. A common scenario: the pot goes outside on the first sunny day in March, then the plant is exposed to cold nights again.
Hold off until the harshest frosts have passed and night-time temperatures are mostly well above 10 °C. Depending on where you live, that is usually between late March and mid-April.
Gentle acclimatisation to sun and temperature
If your oleander has overwintered in a pot, do not move it straight from a dim garage or shed into blazing midday sunshine. That can cause leaf scorch on top of any frost damage.
- Put the pot outside in partial shade for a few hours each day to begin with.
- Increase the time outdoors gradually over the course of a week.
- Only then move it to its final position in full sun.
Plants grown permanently in the ground are often wrapped with fleece, brushwood or similar protective materials. Remove these layers gradually on mild days and keep an eye on the forecast. If late frosts are predicted, put the protection back on for a night or two.
Prune, repot, fertilise: the fresh start begins now
As soon as hard frosts are no longer likely, you can begin the real reset. Three steps work together at this stage: pruning, renewing the compost, and feeding.
The correct prune after frost damage
Cut back all visible frost damage to healthy wood. The green inner tissue shows you where the living part of the shoot begins. Anything dry, blackened or soft should be removed completely.
- Remove any branches that cross or grow inwards.
- Shorten overly long shoots by around one third to two thirds.
- If the shrub is badly damaged, cut it back to about 40 centimetres.
A hard cut-back may reduce flowering in the short term, but it encourages a strong, youthful framework. The new growth is what will carry most of the flower clusters in summer.
Repotting and root care in spring
Container-grown oleander often struggles after a few years because it runs out of space. Roots start circling the pot, the compost becomes exhausted, and waterlogging happens more quickly. Growth and flowering both suffer.
Spring is the best time to give oleander a freshly filled, slightly larger pot with loose, free-draining compost.
Lift the plant from its container, gently tease apart any tightly matted roots, and place it into a slightly larger pot. A reliable mix includes:
- high-quality compost for flowering plants,
- coarse sand or expanded clay for drainage,
- a little well-rotted compost for longer-term nutrients.
If the existing tub is already extremely heavy or cannot realistically be upsized, a partial refresh works well: remove the top five centimetres of compost and replace it with fresh, structurally stable compost.
Fertiliser: without potassium you will not get masses of flowers
From March through to September, oleander needs regular feeding. The key is a balanced fertiliser with a clear emphasis on potassium. Potassium strengthens plant tissue, improves resilience and supports flower formation.
- Add a liquid feed for flowering plants to the watering can every one to two weeks.
- Alternatively, use slow-release fertiliser sticks or granules, pushed into or lightly worked into the surface of the compost.
A frequent mistake is trying to compensate for high nutrient demand by feeding “just in case” when the compost is bone dry. That can effectively scorch the roots. Water first, then feed - never the other way round.
Watering, position, common mistakes: what holds back flowering
A weakened oleander is even less tolerant of waterlogging than usual. At the same time, pots can dry out very quickly in wind and sun. Watering therefore needs a careful balance.
How to water a struggling oleander properly
After winter storage, let the top layer of compost dry slightly before watering again. The easiest check is simply to feel it with your finger.
- Water slowly, aiming at the root area rather than over the leaves.
- Empty saucers after a few minutes so the pot is not left standing in water.
- For plants in the ground during warm weeks, plan for roughly two thorough waterings per week.
Loose, well-drained soil plus a thin mulch layer around the root zone helps keep moisture more consistent and reduces the risk of root damage from waterlogged conditions.
No sun, no explosion of flowers
Oleander is one of the most sun-loving ornamental shrubs. If you keep it in partial shade, you may get plenty of foliage but very few flowers. The best position offers:
- several hours of direct sunshine per day,
- ideally a south- or south-west-facing wall that stores warmth,
- shelter from cold easterly winds.
Despite good intentions, the same errors crop up again and again:
- putting the pot outdoors too early and being caught by a late frost,
- moving the plant from shady winter storage straight into harsh midday sun,
- keeping the compost constantly soaking wet out of fear of underwatering,
- applying heavy doses of fertiliser onto dry compost,
- leaving the saucer permanently filled with water.
If you avoid these pitfalls, there is a good chance that even a battered oleander will turn back into a dense ball of flowers from May onwards.
Risks, notes and practical extras
Oleander is highly poisonous - all parts of the plant. Wear gloves when pruning and repotting, and ideally use protective glasses. Do not put prunings and fallen leaves on compost that children or pets might later reach.
If children or animals use your garden, choose a position where nobody constantly brushes past it or might be tempted to chew the leaves. Dispose of prunings in general waste or via a sealed green-waste collection.
A useful way to encourage better flowering is to think about nearby container companions: Mediterranean herbs such as lavender, rosemary or thyme share similar needs for sun and free-draining soil. Planted close by, they can improve the local microclimate, attract insects and create a visually coherent display.
If you grow several oleanders in different colours, you can also experiment with pruning time and positioning: a shrub cut back a little earlier and placed in a very sunny spot often flowers sooner, while one pruned later and kept slightly more sheltered can extend flowering well into autumn. This can help you achieve an almost continuous flowering period.
The lessons you learn now can also improve next winter’s protection. Make a note of which shrub suffered most and what protection you used. That way, you can act more precisely next autumn - a thicker mulch layer, an extra fleece wrap or a more sheltered location can often be the difference between weak spring growth and a vigorous flush of new shoots.

Comments
No comments yet. Be the first to comment!
Leave a Comment