
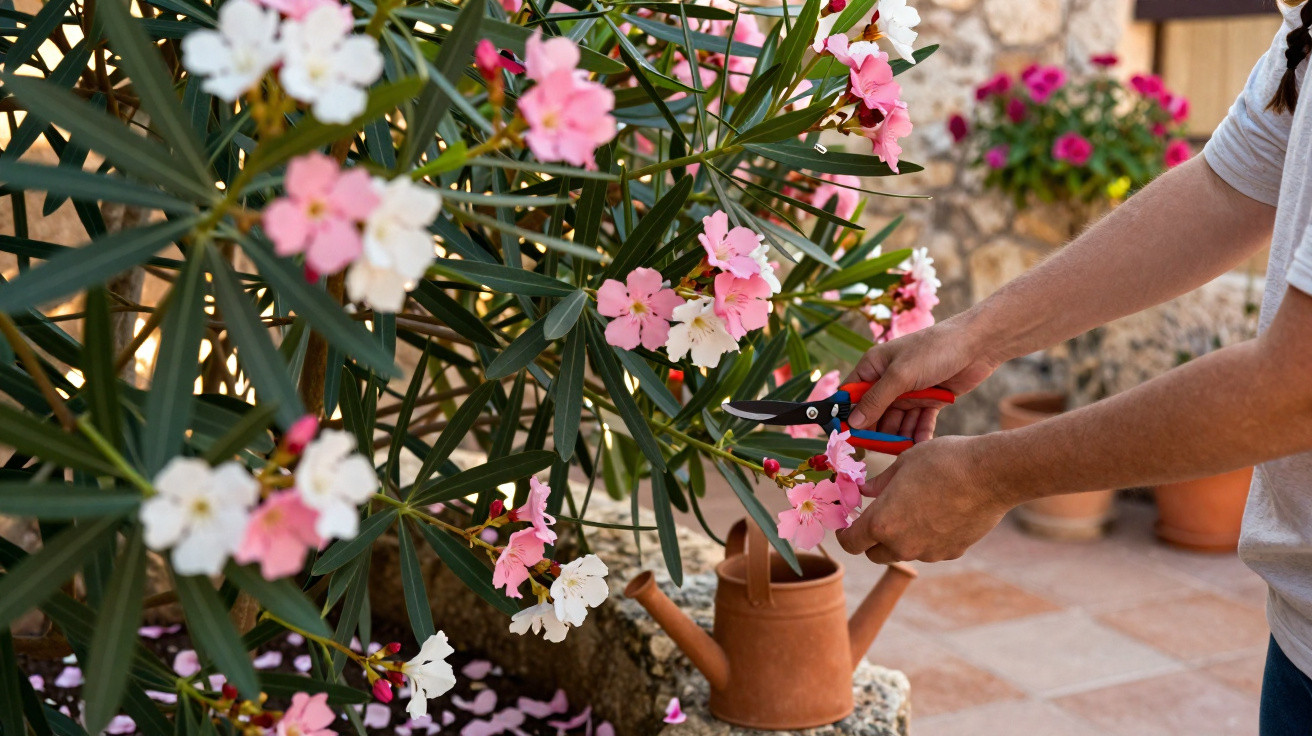
Anyone who has fallen for the magnificent oleander hedges on holiday in southern Europe and then comes home to just a few meagre blooms knows the frustration. The good news is that one simple rule, applied consistently and supported by a handful of extra tricks, can turn the shrub into a true firework of flowers even across the German-speaking countries.
Why oleander often flowers poorly here
Oleander, botanically Nerium oleander, originates from Mediterranean regions and parts of South Asia. In its natural habitat it grows along dry riverbeds and in sparse, stony soils. It copes well with heat, dry spells and lean ground - but it needs one thing in abundance: light.
In many gardens in the German-speaking world, the shrub ends up in partial shade: tucked against a house wall or placed beneath a tree for “protection”. That may seem sensible, but it suppresses exactly what most gardeners want - abundant flowers. Add to that heavy, waterlogged soils, too little feed and the wrong watering routine, and flowering quickly suffers.
"The central rule for a flower-rich oleander is: plenty of sun, plenty of water, but never wet feet."
Once you take that principle to heart and align both the position and the care with it, you’ve already made the biggest step towards a summer show in your own garden.
The golden rule: sun, water, drainage
Maximum sun instead of a “sheltered corner”
Oleander is a true sun-lover. A spot with at least six - ideally eight - hours of direct sunshine per day is best. A south- or south-west-facing terrace or balcony is particularly suitable.
- The more sun it gets, the more flowers it produces.
- North-facing positions or heavily shaded east-facing spots slow growth.
- In a pot, you can shift the shrub around to “follow the sun” if needed.
If you’ve relied on partial shade up to now, it’s worth being brave: changing the position alone can noticeably increase the number of blooms.
Water generously - but never allow waterlogging
Despite coming from dry regions, oleander in a container is a real “thirsty plant”. In hot spells it needs plenty of water.
At the same time, it reacts badly if the roots sit in wet compost for long periods. The key is getting the balance right:
- During hot weather, water daily; on very warm days, water twice.
- Water so thoroughly that the entire rootball is properly soaked.
- Empty the saucer after 20–30 minutes so the roots aren’t left standing in water.
In the ground, the rule is similar: the soil must not stay soaking wet for extended periods. Heavy clay soils can be improved with sand or fine grit so excess water drains away more easily.
Drainage: without an outlet, nothing works
For pots, large drainage holes are non-negotiable. A layer of expanded clay, gravel or coarse grit in the bottom of the container helps prevent stagnant water. If you’re planting oleander into a bed, loosen the planting hole deeply and mix in sand or fine gravel.
"Plenty of water, yes - waterlogging, no. That combination decides whether oleander flowers strongly or simply limps along."
Feed for a mass of flowers: the underestimated trick
Many gardeners treat oleander like other Mediterranean shrubs and feed it only sparingly. That, above all, holds back flower production. Oleander is a heavy feeder and rewards regular nutrients with dense, long-lasting bloom.
Geranium feed as the secret weapon
A particularly handy option is liquid geranium fertiliser, which matches oleander’s needs very well. Its formulation supports flower formation and vigorous growth.
- Feed every one to two weeks from April to August.
- Add geranium fertiliser to the watering can in a moderate dose.
- In very hot weather, make the mix slightly weaker but apply it more often.
If your shrub is already robust and growing well, this approach typically delivers noticeably more flowers - and for longer - in the very first summer.
Correct pruning: how oleander grows dense and free-flowering
Oleander forms its flowers on shoots that grew the previous year. A hard cut at the wrong time therefore removes a large part of the coming season’s flowering potential.
The best time to prune
A light to moderate prune towards the end of winter or in very early spring is ideal. At that point the buds are only just starting to stir, and the plant usually copes well with the cut.
- Remove dried-out or frost-damaged shoots completely.
- Shorten overly long, thin shoots by about one third.
- Cut out inward-growing or crossing branches so light can reach the centre.
During the season, another helpful habit is to remove faded flower trusses regularly. It keeps the plant looking tidy and encourages new buds.
"A gentle shaping prune each year keeps the shrub compact and ensures plenty of young, sturdy flowering shoots."
Protection from wind, cold and pests
As much as oleander loves sun, it dislikes cold draughts and winter frost. In wine-growing areas or mild coastal regions it can sometimes survive lighter sub-zero temperatures in the ground. Across most of the German-speaking region, however, it needs protection.
Wind and frost: keeping shoots intact
- Place containers by a south- or west-facing house wall, where conditions are often slightly milder.
- Avoid strong winds, which can snap shoots.
- When hard frosts are forecast, move potted plants into a garage, conservatory or other frost-free space.
- In beds, protect the root area with leaves or bark mulch.
In winter, water far less and keep the compost only slightly moist. Too much wetness combined with low temperatures encourages fungal problems.
Pests to watch for
Common visitors on oleander include aphids, scale insects and - in dry air - spider mites. Checking young shoots and the undersides of leaves early can prevent bigger problems later.
- Rinse off a light aphid infestation with a strong jet of water.
- For heavier infestations, use neem-based products or suitable treatments for ornamental plants.
- Don’t place pots too close together so air can circulate well.
Propagating oleander yourself: getting cuttings to take
If you spot an especially attractive shrub in your garden or a neighbour’s, you can multiply it quite easily from cuttings. Summer is the best time.
Step by step to a new shrub
- Choose healthy, non-flowering shoots and cut pieces around 15 centimetres long.
- Remove the lower leaves so nothing rots in the compost.
- If you wish, dip the cut end in rooting powder to support root formation.
- Plant the cuttings into a mix of sand and potting compost.
- Water lightly and place the pot somewhere warm and bright, but not in full sun.
Keep the growing medium evenly moist, but never dripping wet. After around two months, there are usually enough roots for the young plants to be moved into larger pots.
"With a few cuttings, you can quickly turn one favourite shrub into a whole row of new plants for the garden, the balcony and friends."
What many people underestimate: toxicity, soil and companion planting
Oleander may look Mediterranean and romantic, but all parts of the plant are poisonous. Families with small children or pets that roam freely should choose the location carefully. Prunings should not go on the compost heap; dispose of them with general waste.
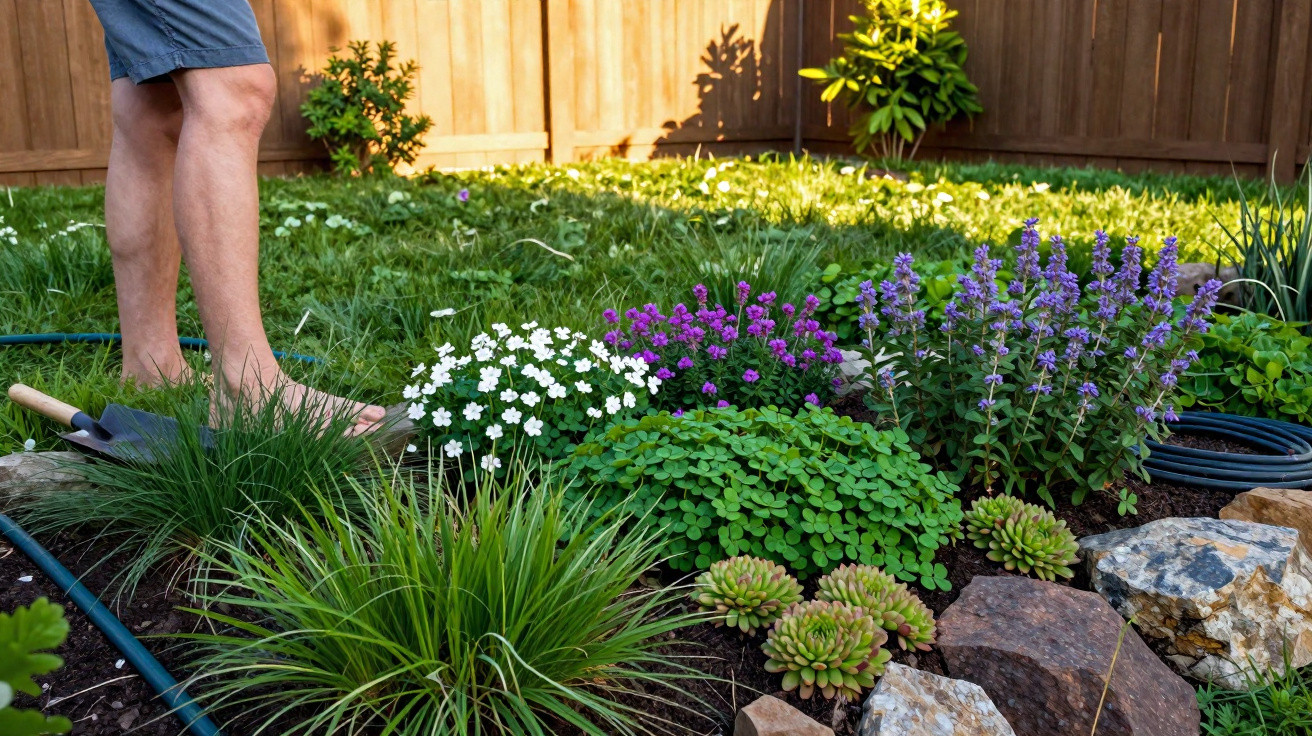
In a pot, the shrub does best in a nutrient-rich yet free-draining mix. Combining high-quality potting compost with a little sand and a mineral component such as pumice or pieces of expanded clay creates stable conditions. In a border, oleander pairs well with other sun-loving plants such as lavender, rosemary or sage, which enjoy similar conditions but usually need less water. In that case, thoughtful spacing and targeted watering directly at the oleander’s root zone help keep everyone happy.
If you consistently combine the golden rule - sun, generous watering without waterlogging, good drainage and regular feeding - you’ll be pleased to see significantly more buds after just one season. After two to three years, even an unremarkable container plant can develop into an impressive flowering shrub that turns a balcony or terrace into a small holiday retreat.
Comments
No comments yet. Be the first to comment!
Leave a Comment