
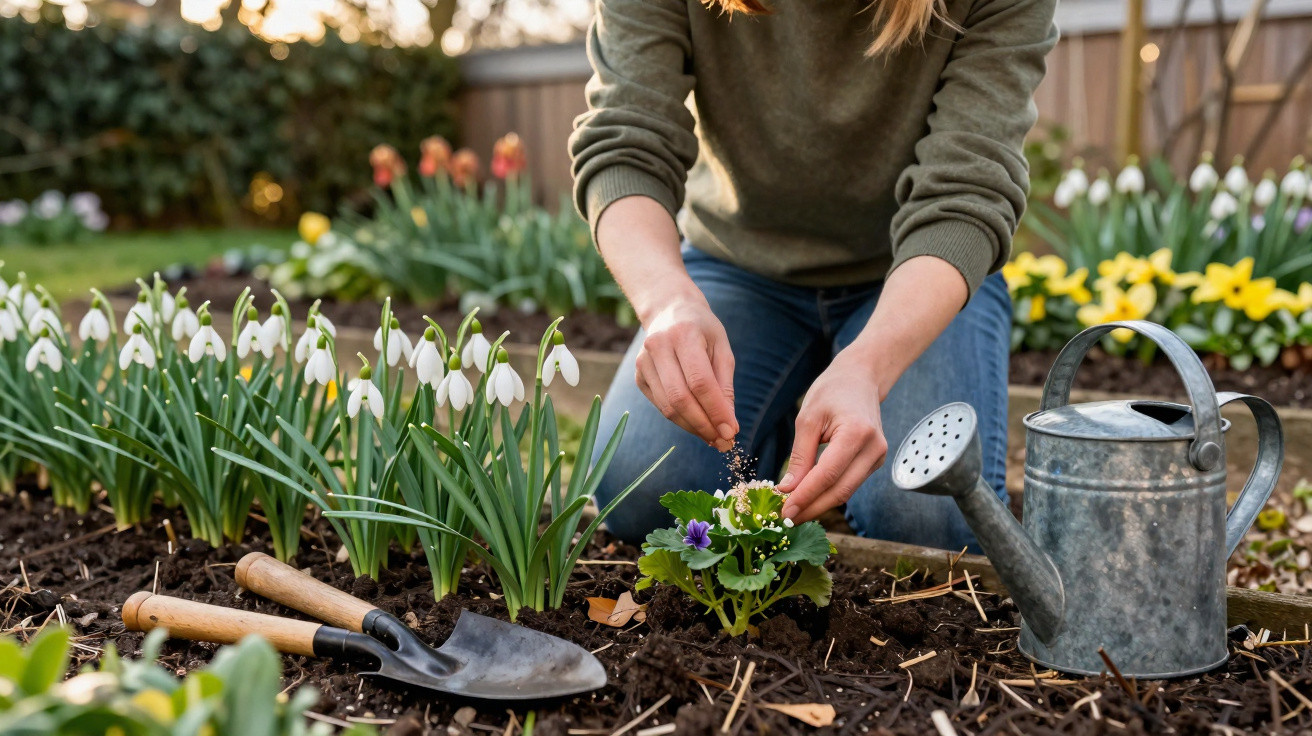
The delicate snowdrops have finished flowering, the garden suddenly looks empty – so what now?
Anyone who gets it wrong at this stage will weaken the bulbs for next year.
Many amateur gardeners, with the best intentions, swiftly cut away the faded flowers and leaves. Yet this is precisely what deprives snowdrops of the strength they need for the following spring. A few simple steps after flowering can create dense, healthy carpets of snowdrops that return more vigorously every year.
Leave the foliage: why snowdrops are still working
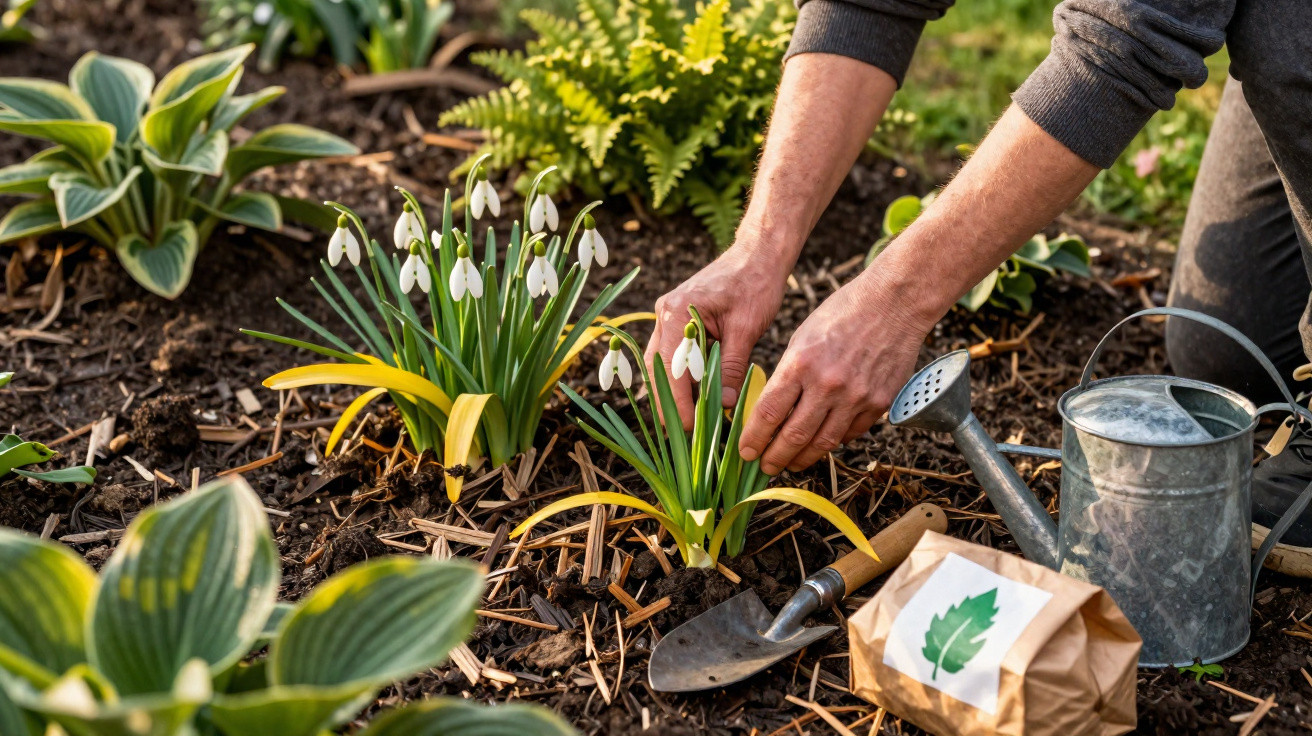
Once the white bells have dropped, the bed can soon look rather forlorn. The green leaves flop over, gradually turn yellow and start to resemble “weeds”. Even so, one firm rule applies: do not cut them back.
The foliage is the snowdrops’ life insurance – it is where energy for the next flowering period is stored.
The plants photosynthesise through their remaining green leaves. They send stored nutrients back into the bulb, where the flower bud for the coming winter is formed. This process generally takes six to eight weeks after the final flowers have faded.
Cutting the foliage sooner significantly weakens the bulb. The result may be fewer blooms the following year, smaller clumps or, in extreme cases, the plant disappearing altogether.
A trick to disguise the untidy look in the bed
The yellowing, limp foliage bothers many gardeners. There is a simple visual solution:
- Pair snowdrops with perennials that emerge later
- Fill bare spaces with low-growing ground cover
- Choose positions where the fading foliage is not the main focus
Good options include hostas, fern varieties and hardy geraniums. These perennials begin growing just as the snowdrops are dying back, elegantly concealing the yellowing leaves.
Water correctly – but avoid waterlogging
After flowering, the bulbs still need enough moisture to replenish their reserves. In dry springs, a watering canful of water is helpful.
Important points:
- Keep the soil evenly moist and do not let it become completely dry
- Prevent waterlogging, which can lead to rot and fungal diseases
- Water less often but thoroughly
If your bed already has heavy, wet soil, improve its structure with sand or compost. This allows surplus water to drain more freely and helps prevent the bulbs from rotting.
Feeding snowdrops after flowering: laying the foundations for next year
The best time to feed is immediately after flowering, while the foliage is still a rich green. At this point, the plant can absorb and store nutrients.
A potassium-rich fertiliser after flowering strengthens the bulb and helps snowdrops live longer.
Which fertiliser suits snowdrops?
For robust established clumps, use a fertiliser for spring-flowering plants that is low in nitrogen but high in potassium. Potassium supports strong roots and disease resistance, whereas excessive nitrogen only produces leaves rather than strong bulbs.
A possible schedule:
- Apply a light feed straight after flowering, while the foliage is fresh
- Water thoroughly after feeding so the nutrients reach the root zone
- For clumps that appear weak, apply another light feed after around two weeks
- Stop feeding once the foliage becomes noticeably yellow
If you would rather avoid chemical products, choose organic alternatives: a little bone meal, horn shavings or a thin layer of mature compost around the clumps is usually quite sufficient. Do not lift or damage the bulbs; simply work it in lightly or scatter it over the surface.
Dividing and moving snowdrops: turning a few bulbs into whole carpets
Snowdrops do multiply naturally, but after several years their clumps often become overcrowded. Flowering then declines and they spread very little. This is when division helps.
The best time to divide them is immediately after flowering, while the plants are still “in the green”.
Dividing snowdrops in the green – step by step
| Step | Action | What to watch for |
|---|---|---|
| 1 | Carefully lift the clump with a garden fork | Insert the fork around the outside and avoid piercing the bulbs |
| 2 | Gently separate the bulbs into small groups | Leave the roots as undamaged as possible |
| 3 | Replant them immediately | Set them at roughly the same depth as before |
| 4 | Water well | Ensure the soil makes good contact with the roots |
Plant the newly divided groups in loose soil, leaving around eight to ten centimetres between them. This provides sufficient room for them to thicken up naturally over the coming years.
Why planting “in the green” works better than using dry bulbs
Moving snowdrops in spring while they still have foliage offers a clear advantage: the plants are still actively growing and can begin forming roots straight away in their new position. By contrast, dry bulbs sold during summer emerge far less reliably and often take years to become properly established – if they establish at all.
The bed after dieback: keeping it tidy without endangering the bulbs
Around two months after flowering, the leaves will have died back completely. Nothing is then visible above ground, as the bulbs rest beneath the soil. At this stage, the dead remains can be cleared away.
Gardeners who like to replant in summer should mark their snowdrop positions. Small canes or discreet plant labels prevent bulbs from accidentally being dug up later when new perennials are planted.
Mulch – a protective layer used sparingly
A light mulch layer keeps the soil moister in summer, reduces temperature fluctuations and suppresses weeds. Suitable materials include:
- Leaf mulch
- Fine bark compost
- Straw or dried grass clippings, applied only thinly
The layer should be no more than five to seven centimetres deep. Mulches that are too heavy or become tightly compacted make it harder for snowdrops to push through again in late winter.
Combining snowdrops cleverly: more structure through the seasons
Thinking about the overall arrangement of the bed now means less work later. Snowdrops enjoy partially shaded, humus-rich spots, much like many woodland perennials.
Suitable companions include:
- Epimedium
- Lungwort
- Small ferns
- Astilbes in damper areas
These plants take over visually once the snowdrops have gone, without crowding them out. The bed therefore remains interesting from February through to autumn.
Practical advice and common mistakes with snowdrops
One common misconception is that buying masses of new bulbs in autumn, without caring for existing clumps, is the best solution. In many gardens, dividing, feeding and giving a little care are enough to turn just a few plants into a true carpet of flowers.
Another consideration is the location: when snowdrops spend every year in bone-dry summer soil beneath deeply rooted shrubs or trees, their bulbs gradually shrink. Moving them once to an area that is more humus-rich and moist in spring can often work wonders.
There is one further factor: some gardeners are surprised when fewer flowers appear after a particularly dry or hot summer. Snowdrops react sensitively to these periods of stress. Providing some moisture and keeping the soil loose during this time greatly reduces the risk.
Over time, this builds an understanding of the plants’ rhythm: from their first shoots in late winter, through the short flowering period, to the “invisible” phase when the abundance of flowers for the next year is being prepared below ground. Those who consciously support snowdrops after flowering will be rewarded in February and March with ever denser, more vigorous snowdrop clumps.

Comments
No comments yet. Be the first to comment!
Leave a Comment