
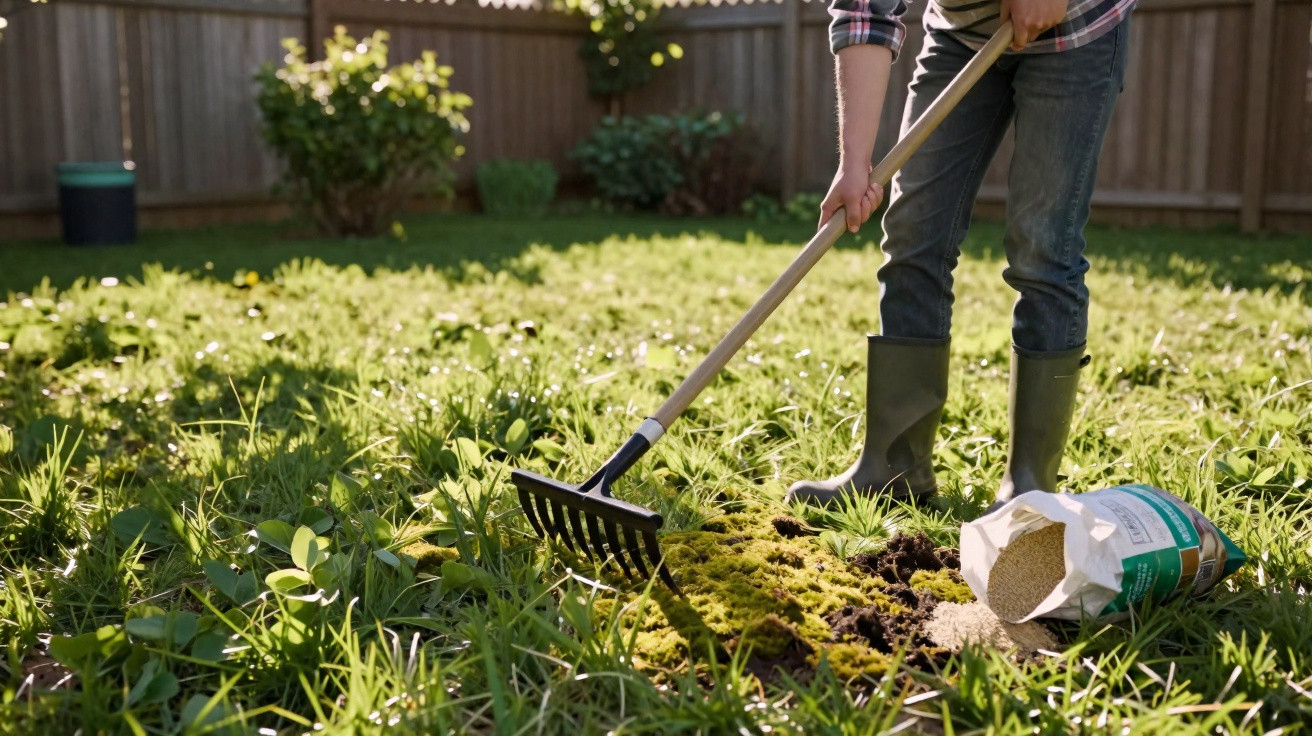
Reaching straight for chemicals or expensive machinery only makes the job harder than it needs to be. Garden professionals have relied for years on a straightforward combination that anyone can copy at home: two classic hand tools, the right timing and a clear plan. Follow it and you can turn a patchy, mossy area into a resilient, healthy lawn, one step at a time.
Why moss pushes your lawn out so quickly
Moss is not a “enemy” in the usual sense; it is more of a gap-filler. It moves in wherever grass is struggling or has already given up - and that often happens faster than people expect.
Common triggers include:
- compacted soil where water sits on the surface
- an overly acidic pH value
- permanent shade
- mowing too low and too infrequently
- nutrient deficiency over several years
Moss thrives in damp, poorly aerated ground. Once it forms a dense carpet, it weakens the grass further because light and air can barely reach the blades. The result is predictable: the lawn retreats, moss takes the space - a classic vicious circle.
“If you only ‘kill’ moss without tackling the cause, you’ll have the same problem again next spring - often worse.”
That is why gardening experts recommend the transition period from late winter into early spring. At this point the grass starts growing again. If you remove the moss now, the lawn can reclaim the newly opened patches much more quickly.
The winning pair: two tools are more than enough
Rather than hiring an electric scarifier or investing in a costly set of machines, most gardens will do perfectly well with a simple kit:
- lawn rake or scarifying rake with strong tines
- lawn aerator - either a garden fork or a spiked roller with steel points
The rake works the surface of the lawn. It pulls out moss, old clippings and what is often called thatch from the turf. The aerator then deals with what is happening underneath: it creates holes in the soil, loosens compaction and forms channels for air, water and nutrients.
“The rake deals with what you can see - the aerator with what’s happening in the soil.”
Many gardeners focus only on raking out the moss cushions. The lawn may look better for a short while, but the problem quickly returns because the soil beneath has not changed. This is exactly where quick cosmetic fixes differ from long-term lawn care.
The right moment: when it’s better to wait
Spring is not the same everywhere. A mild March in the Rhineland feels very different from a cool April in the Allgäu. For your lawn, soil temperature matters far more than the calendar.
A few practical indicators:
- The turf looks slightly lush again rather than winter-grey.
- After mowing, you see clean, fresh cut edges instead of torn blades.
- Daytime highs are clearly in double figures for several days in a row.
In particular, vigorous scarifying with the rake only pays off once the grass is genuinely growing again. Otherwise you will pull out more than can recover - leaving bare patches that moss is only too happy to occupy come autumn.
Step by step: how to drive out moss for the long term
1. Don’t cut the lawn too short
Before you pick up any hand tools, start with the mower. Set the cutting height to around 5 centimetres. Cutting too low weakens the grass, dries the soil more quickly and gives moss another opening.
2. Comb out moss with the rake
This is the most physically demanding stage, but you typically only need to do it once or twice a year. Pull the rake firmly across the area in lengthways and crossways passes. This loosens:
- moss cushions
- matted grass blades
- old clippings
Then remove everything you have pulled free using a leaf rake or by hand. Many people are surprised by how much material comes up - a clear sign of just how “clogged” the turf had become.
3. Loosen the soil with an aerator
Straight after raking, move on with a garden fork or spiked roller. The key is not simply to jab and pull out again, but to wiggle slightly. That movement creates proper channels in the ground.
Benefits of these holes:
- Rainwater drains away faster.
- Roots can find their way down more easily.
- Nutrients reach exactly where the grass needs them.
“Well-loosened soil encourages deep roots - and deep roots are the best insurance against dry spells.”
4. Overseed bare patches and fertilise
Where moss was dense, you will often be left with gaps. Overseed these areas immediately with a suitable lawn seed. Ideally, choose a mix that matches your garden - for example, a shade-tolerant lawn mix beneath trees and a hard-wearing play lawn mix for heavily used areas.
After sowing, a light feed helps. Products containing iron are seen as a proven aid against moss because they strengthen the lawn and weaken the unwanted cushions. If you prefer a more natural approach, choose organic-mineral slow-release fertilisers.
How to build a simple yearly routine
If you keep an eye on your lawn throughout the year, you can avoid dramatic rescue missions right before the gardening season. This practical schedule works well:
- March/April: Mow on the higher setting, rake out moss, aerate the soil, overseed thin areas, fertilise moderately.
- May to August: Mow regularly but not too low; in dry weather, water less often but thoroughly.
- September/October: A light repeat: shallow scarifying, targeted aeration, autumn feed to support a stable winter rest.
With this routine, the lawn becomes denser year after year. Moss simply runs out of space to spread.
Common mistakes that practically invite moss in
Many well-meant actions do more harm than good. The most frequent are:
- Constant sprinkling: Short daily watering keeps the surface permanently damp - ideal for moss.
- Extremely low cutting: A “golf green” look weakens domestic lawns because the turf is not designed for it.
- The wrong seed mix: Cheap mixes often contain agricultural grasses that are not hard-wearing and quickly become thin.
- No nutrients: If you do not fertilise for years, you hand the advantage to moss.
Keeping these points in mind day to day takes much of the momentum out of moss.
Practical notes on pH value, shade and alternatives
Many mossy lawns share one thing: soil that is too acidic. A simple soil test kit from a DIY shop will tell you where you stand. If the pH value is clearly below 6, targeted applications of lime can make sense on heavy soils. However, lime should only be applied after testing - scattering it “just in case” does not help.
In areas of full shade - behind tall hedges or on north-facing walls, for instance - a classic ornamental lawn is naturally at a disadvantage. In those spots, a different strategy is often better: shade lawn mixes, ground-covering perennials, or deliberately created moss areas. Not every corner has to become an English lawn.
If you use the two core tools - rake and aerator - intelligently, you are mainly investing time and a bit of muscle. The payoff arrives in summer: a dense, rich green, hard-wearing lawn that copes far more calmly with heatwaves and family picnics than a thin layer of moss.





Comments
No comments yet. Be the first to comment!
Leave a Comment