

In the Netherlands, many gardeners rely on a straightforward countermeasure that gets in first-before the problem even shows itself.
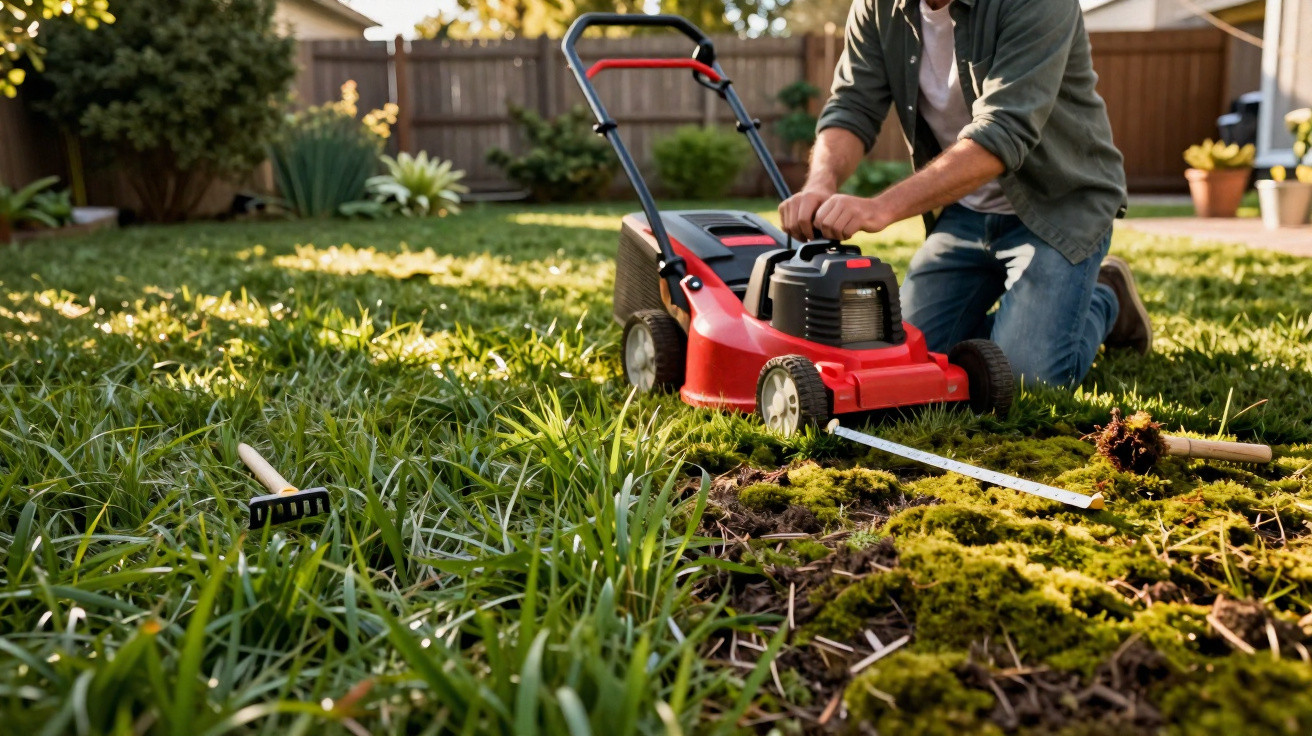
Plenty of amateur gardeners will recognise the pattern: as soon as autumn turns wet and gloomy, a once lush, thick lawn can slip into a patchy, dark-green carpet of moss. Instead of healthy green blades, slimy cushions start to dominate, the ground looks tired, and your mood goes with it. For years, Dutch gardens have used a surprisingly simple approach that stops moss from gaining a foothold in the first place-while also helping the grass to grow stronger.
Why moss takes over your lawn
When your soil becomes the perfect moss playground
Moss doesn’t appear by chance; it’s a sign that something is off. It exploits weak points in the soil. Common triggers include:
- soil that is too acidic
- compacted, poorly aerated earth with too few air pores
- persistently damp or waterlogged areas
- heavy shade beneath trees or alongside hedges
- mowing too low, which leaves grasses weakened
Soil acidity, in particular, is a major factor. Grass prefers conditions that are slightly to moderately acidic; if the value drops too far, the turf loses vigour. Moss, on the other hand, thrives under those conditions and spreads wherever the lawn starts to give up.
Early warning signs: what your lawn is telling you
Long before you see obvious moss cushions, the surface usually signals trouble clearly. Typical signs include:
- blades of grass turning yellowish or looking washed-out
- a thinning, “holey” sward
- a damp, felt-like layer underfoot
- soil that becomes sticky after rain and drains poorly
- small, paler patches that feel as if they’re dying off
"Anyone who takes these warning signs seriously can stop moss before it takes hold-and avoid years of frustration with aggressive moss killers."
The Dutch solution: wood ash as a natural anti-moss helper
How ash ‘takes the edge off’ the soil
In many Dutch gardens, late autumn comes with a familiar ritual: once the boiler, wood burner, or fireplace is in use, some of the wood ash produced later ends up on the lawn. This fine grey residue from burnt, untreated wood contains very little organic matter, but plenty of minerals.
Its key benefit is simple: ash gently raises the pH value, easing soil acidification. In practical terms, that makes the ground more comfortable for grasses and noticeably less welcoming for moss. It doesn’t happen overnight; rather, each light dusting shifts conditions a little further in the lawn’s favour.
More than anti-moss: free nutrients as well
Alongside its effect on pH, wood ash adds minerals back into the soil. Typically, it contains:
| Component | Effect on the lawn |
|---|---|
| Potassium | strengthens cell walls, improves resistance to drought and frost |
| Calcium | counteracts acidification, improves soil structure |
| Phosphorus | supports root formation and growth |
That means the ash also works as a mild fertiliser. It feeds the soil without hammering the grass with fast-acting chemical inputs. Newly established lawns, in particular-where roots are still relatively shallow-often benefit from this gentle support.
When ash belongs on the lawn
The right time of year
The ideal window is late autumn, roughly from early to mid-November. By then, most leaves have fallen, summer heat has passed, and grass growth has slowed down-yet it remains active.
At this point, the soil responds well to small corrections, while moss hasn’t properly “got going” yet. Many households are also already heating with a stove or fireplace, so there is usually enough ash available to put to good use-rather than sending it out with general waste.
How to spread ash correctly – step by step
Dosage and technique for a safe result
Overdoing it can damage the lawn, so it pays to stick to clear guidance:
- use only ash from untreated, natural wood
- allow the ash to cool completely (fire risk!)
- then sieve it thoroughly so no charcoal fragments or nails end up on the lawn
- amount: around 70 to 100 grams per square metre
For even spreading, a fine sieve, a lawn spreader, or a gloved hand all work well. Choose a dry day with as little wind as possible so the ash doesn’t blow away.
Afterwards, a light pass with a rake helps the ash settle into the top few millimetres of soil instead of sitting as a grey film on the grass blades. A moderate rainfall soon after helps wash the minerals down towards the roots.
"As a rule of thumb: it’s better to apply a little too sparingly and repeat every year than to put down too much in one go."
Sources of error: when ash becomes a risk
What to avoid
Wood ash only remains a gentle aid if you follow a few basic rules. Frequent mistakes include:
- using ash from coal briquettes, varnished wood, or treated construction timber
- leaving thick piles of ash in single spots, which can “burn” grass roots
- spreading onto frozen or snow-covered turf
- applying large amounts every year without checking the pH value
If you want to be cautious, test the soil pH every few years with a simple kit from a garden centre. If the value is already near neutral, a smaller dose-or longer gaps between applications-will often be enough.
How to strengthen the anti-moss effect significantly
Routines that stabilise the lawn long term
Ash on its own won’t fix everything. Combined with a few consistent care habits, however, it can help produce a very resilient lawn. Useful measures include:
- aerating once or twice a year with a lawn roller or spiked shoes
- on more compacted soils, aerifying with hollow tines
- setting mowing height to around 4 to 5 centimetres rather than cutting extremely short
- thinning tree canopies so more light reaches the ground
- using lawn seed mixes with shade-tolerant varieties in darker corners
Over time, this creates a denser, springier “carpet” with far fewer gaps-effectively refusing moss an entry ticket.
How the lawn changes over several seasons
What you can expect the following year
If you apply ash in autumn and adjust your lawn care at the same time, you’ll usually notice a clearer structure the next spring: the sward looks thicker, the usual bare spots in shaded areas are smaller, and the ground feels firmer underfoot. In trouble zones that would otherwise show moss again and again, green cushions often appear far less-or disappear entirely.
Experience in Dutch gardens suggests that an annual, moderate ash application massively reduces the need for chemical moss killers. Many local authorities use comparable approaches in parks because they can be implemented with minimal effort and without toxic residues.
Practical pointers for amateur gardeners
How to recognise good wood ash
Suitable ash is light to mid-grey, finely crumbly, and virtually odourless. Black lumps point to incompletely burnt wood or charcoal, which doesn’t belong on the lawn. If you have an open fireplace, it’s best to keep pure wood ash separate from any remnants of briquettes or barbecue charcoal.
When a different solution makes more sense
In extremely heavily shaded gardens-such as beneath dense conifers-even the Dutch toolkit has limits. In those situations, it may be wiser to switch deliberately to shade plants such as groundcover, rather than forcing a lawn to survive. Likewise, with very clay-heavy soils that hold standing water, sand, drainage, or raised beds often need to come first before ash can make a meaningful difference.
Used thoughtfully, this method can deliver a long-term double win: less moss stress and a visibly more vigorous lawn that copes better with rain, heat, and cold. Minerals from the fireplace become a quiet helper in the garden-very much in the pragmatic spirit of the neighbours from the Netherlands.




Comments
No comments yet. Be the first to comment!
Leave a Comment